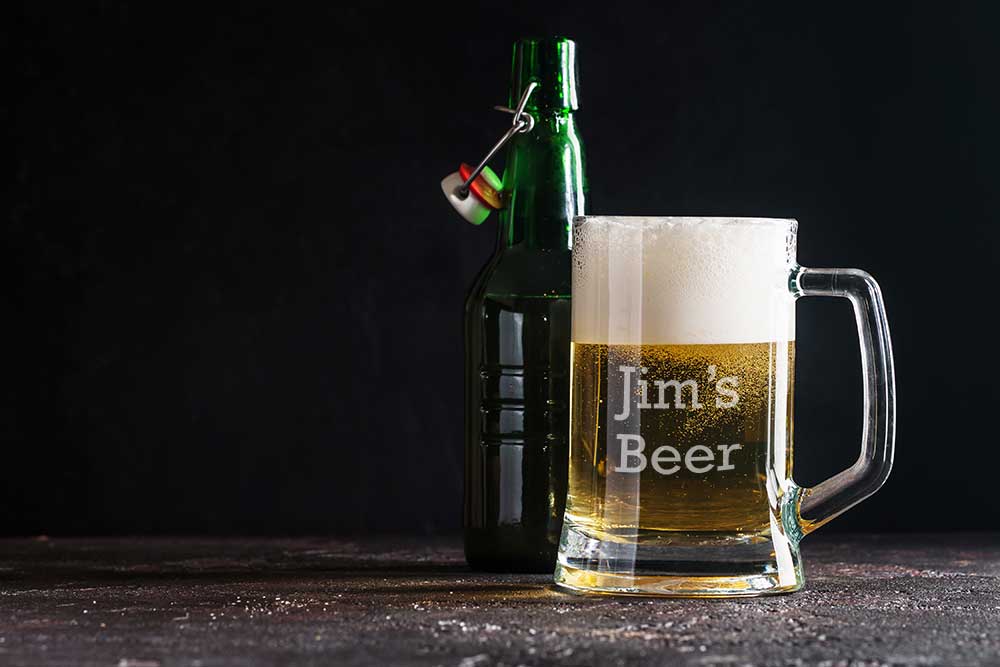
A laser engraver and a rotary tool are fast and highly effective methods of engraving a beer mug. Besides beer mugs, you can engrave a wide range of glass objects, but this post will focus on engraving a beer mug with a handle, which can be tricky but relatively easy to do once the procedure is completed with the correct tools.
You will love the final results; if you sell your items, your customers will love them, too. Depending on the laser’s quality, you can engrave photos, names, logos, and much more in great detail. This article will teach you most of what you need to know to get started engraving beer mugs, and you can use most of this to etch any glass for your use or to sell on sites such as Etsy or your website. Read on to learn more.
Laser Engraving Glass
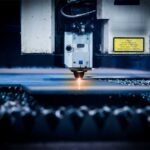
Glass is fragile by nature, creating obstacles while engraving with a laser due to the intense heat a laser produces during engraving. However, you will find it relatively easy with some research, such as this article you are reading. You need to make sure you have the right tools prepared for the project, and you will be able to make fast work of most glass objects compared to other methods of glass engraving, such as sandblasting or hand engraving.
The lower quality glass works best when it comes to laser engraving glass. High-quality lead crystal glass has more crystal and tends to crack more easily under the laser’s beam. Using your average dollar-store beer mug is best, as it won’t break as easily under the laser.
Materials You Will Need To Engrave A Beer Mug
Laser Engraving Machine
A laser engraving machine is a fantastic tool for engraving; the type of laser you select is essential for laser engraving glass. The best kind of laser engraver for glass is a Co2 laser. Co2 laser engravers come in many brands, sizes, and price ranges, which I won’t explore in this article. I use an Epilog Fusion 24 with a rotary attachment, which works fantastic. However, there are many brands of laser engravers out there.
The engraving machine you select will need a rotary attachment available; it fits onto the laser and works in tandem with your laser to rotate the glass as the laser does its work.
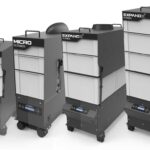
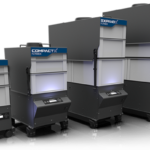
Fume Extractor
When you laser etch glass or cut anything with a laser, fumes and particles must be captured so they don’t wind up in your lungs or the lungs of others. I use the Filtrabox Expand 2, and it’s been working great. You attach the hose to the back of your laser engraving machine, and the fume extractor will use vacuum pressure to remove any fumes and particles from inside your device while you work.
A fume extractor is a crucial part of any engraving shop; other methods use an external vent that shoots the fumes out outside your home or business. I don’t know about you, but I would not want to live next to someone shooting toxic fumes at my house or business. The Filtrabox fume extractor has several filters built-in, and it vacuums the air into these filters. You get clean air instead of toxic fumes in your home or office.
Safety Concerns
Always follow any safety guidelines provided by any equipment you use before, during, or after the engraving process. Besides the fume extractor mentioned above, eye protection is a great idea. The color and type of eye protection are determined by the kind of laser you are using, so you will want to consult the user manual to follow all their recommended safety guidelines.
Rotary Tool
You can use several Rotary tools for engraving beer mugs or most cylindrical objects, but the two main rotary tools are the chuck and the Rotary. The chuck version is usually a little more expensive; therefore, I will discuss the rotary tool in this article. The rotary tool plugs into the laser engraving machine, usually on the inside of the device. You then place the beer mug on the Rotary, which will sync with the machine to turn it precisely at the correct intervals to engrave the glass.
Creating The Layout Template
If you know a bit about graphic design, you might be able to create your template without the help of someone else. A beer mug template outlines your engraving project to send to your laser engraver. For different-sized glasses, a different template should be utilized. If you are not a graphic designer, I recommend finding a template similar to the one you require on Etsy.com, as it will make your life much easier.
I also recommend using Illustrator as your graphic design software; although many other packages are available for laser engraving, I find it the easiest. I can’t detail how to lay out the entire template, as it would require a whole new article. However, I want to mention a few main points. Don’t use dishwashing soap. Many YouTubers and blogs will tell you to use dishwashing soap so your glass does not overheat or chip.
However, dishwashing soap can cause your glass to slip while engraving due to the dishwashing soap making the rotary wheels very slippy. Instead, I recommend you create your graphic or text and then save the file as a transparent PNG file. You then open this file and lower the transparency setting to 80%. Lowering the transparency will reduce the intensity of the laser and get a similar effect as dish soap but with less mess.
Setting Up The Laser
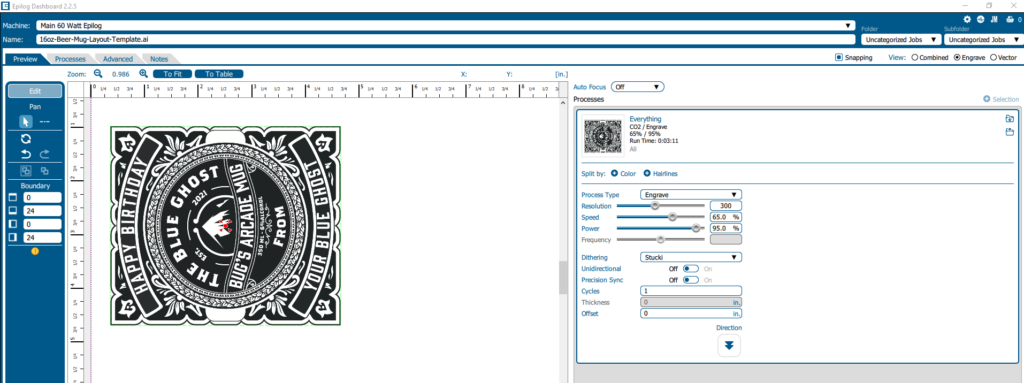
I won’t go into great detail on setting up the laser, as this will vary depending on what laser you are using. However, the following is how I configure my Epilog Fusion 24 60 Watt. You will probably need to look up the settings for whatever machine you are using, and the information in this article should only be used as a reference.
Note the settings in the image below. The resolution is set to 300 dpi, speed to 65%, and power to 95% with the dithering set to Stucki. Some of these settings won’t correlate to your machine if you are using a different type of laser engraver, but the main point is that you want to adjust these settings and test them until you get the designed effect. Remember to set your graphic at 80% transparency to avoid chipping the engraving.
Layout
You can see about one inch of space at the top of the graphic; this allows for the handle. You must measure the glass and the width of the handle to get this measurement. In my case, I measured precisely 1 inch to allow for the handle. Test run your templates before you engrave the actual glass to ensure it works so you don’t damage the final product.
Leave space on the top of the template so the graphic is not too close to the top.
Placing The Glass In The Rotary Tool
Depending on what type of machine you are using, you may have to follow different instructions, but they will probably be very similar.
First, put the glass into the Rotary so that the top of the glass is on your left. The handle position will depend on what type of beer mug you want and if you want it engraved on the left or right side. You will need to figure this out with the template you are using.
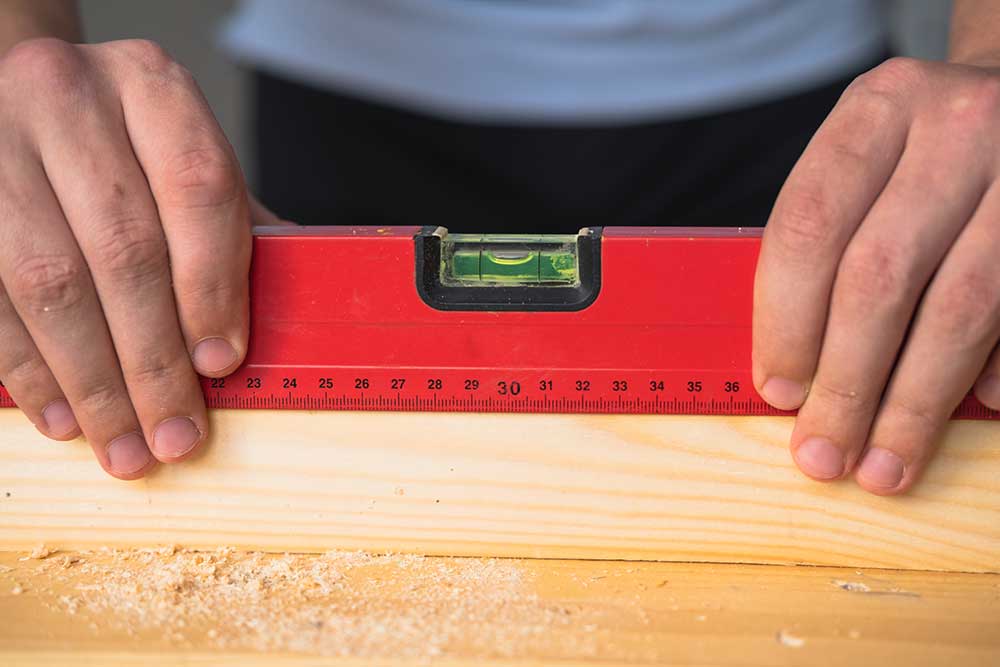
The most important point here is that the glass is even; you can purchase a small level, similar to what construction workers use, but on a small scale, they have a bubble in the center and show you when something is level. Once you have the glass in the rotary tool, you will want to ensure its level by placing the level tool on top of the glass so that the bubble shows in the center. The glass must be level to ensure the laser engraves evenly down the glass.
An example of a level. The dollar store usually has them.
Laser Distance Gauge
All lasers have a method of measuring the distance between the laser head and the engraved item. The space between the laser and the item being engraved is significant as it determines the intensity of the laser beam, and if it’s too far or too close, it will not be engraved correctly. It’s usually a small tool that you set next to the laser head; you then lower the head of the laser until the tip of the device hits the item you are engraving. This will ensure the laser is at the correct distance from the glass to utilize the power settings correctly.
Setting The Center Point Of Your Engraving
When engraving onto your glass, you need to tell the engraving machine where the center of your engraving point is to configure itself to engrave the graphic correctly onto the glass. Different engraving machines will have other methods of setting this up; however, on an Epilog engraver, I do the following.

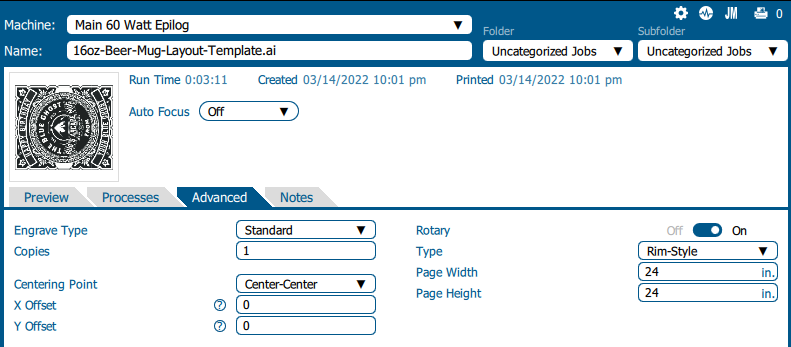
First, click on the “Advanced Tap.”
Then, set the Rotary to “On” and the Centering Point to “Center Center.”
Once you have everything set up, you can start your engraving. You will want to consult the manual for your unique engraving requirements. Once your glass has finished engraving, you will want to take a damp cloth and gently wipe off any excess glass, and you are good to go.